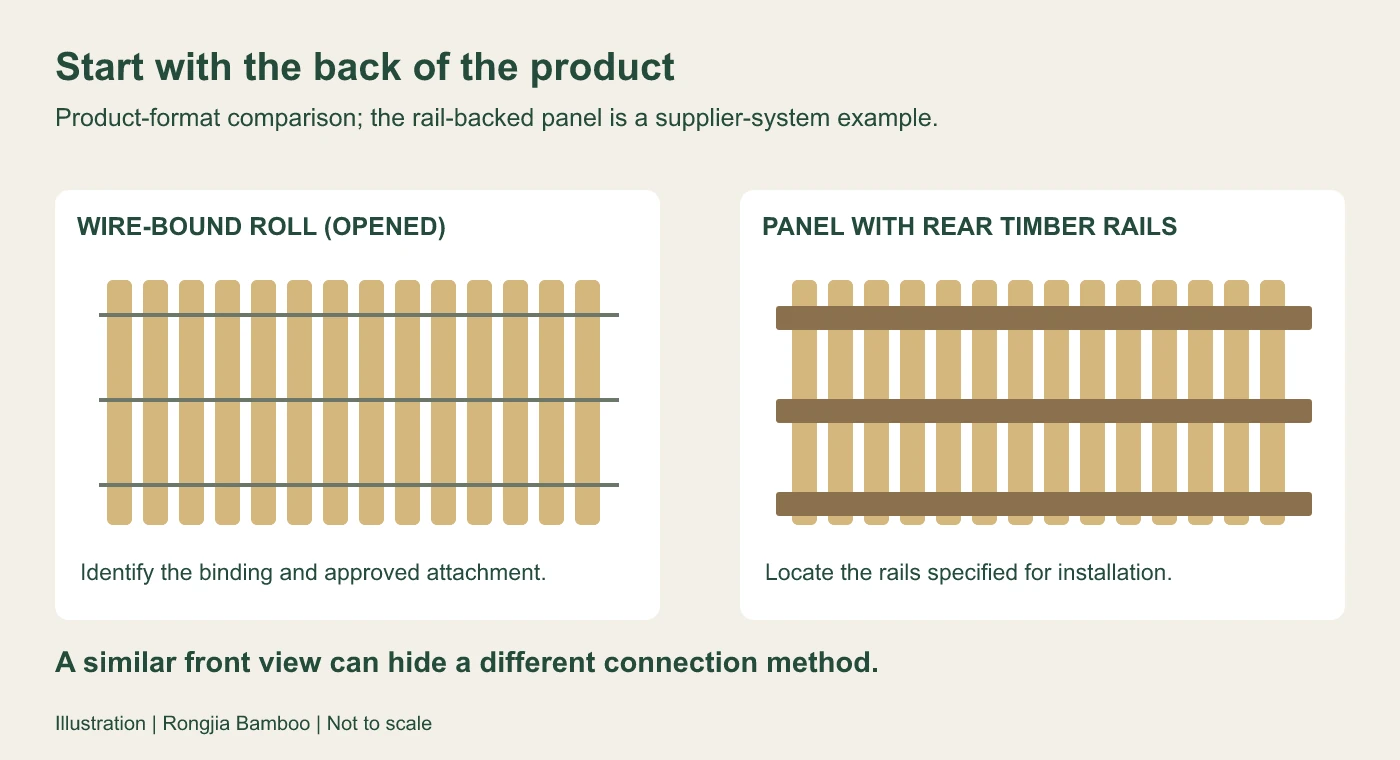
Bamboo fence installation starts with the back of the product. A wire-bound roll, a light screen and a panel with timber rails can look similar from the front, yet need different fixings. Decide how the selected product connects to the supporting fence before buying screws, ties or staples.
The practical goal is a complete connection: bamboo assembly, installation fixing, supporting rail or mesh, and the fence structure behind it. A neat-looking fastener that misses the support has not completed that connection.
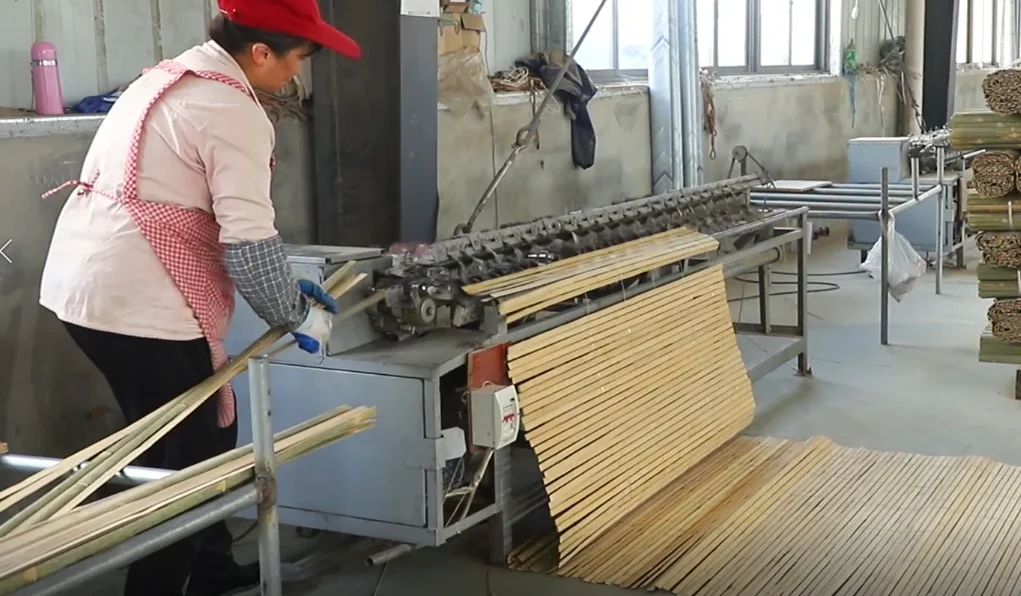
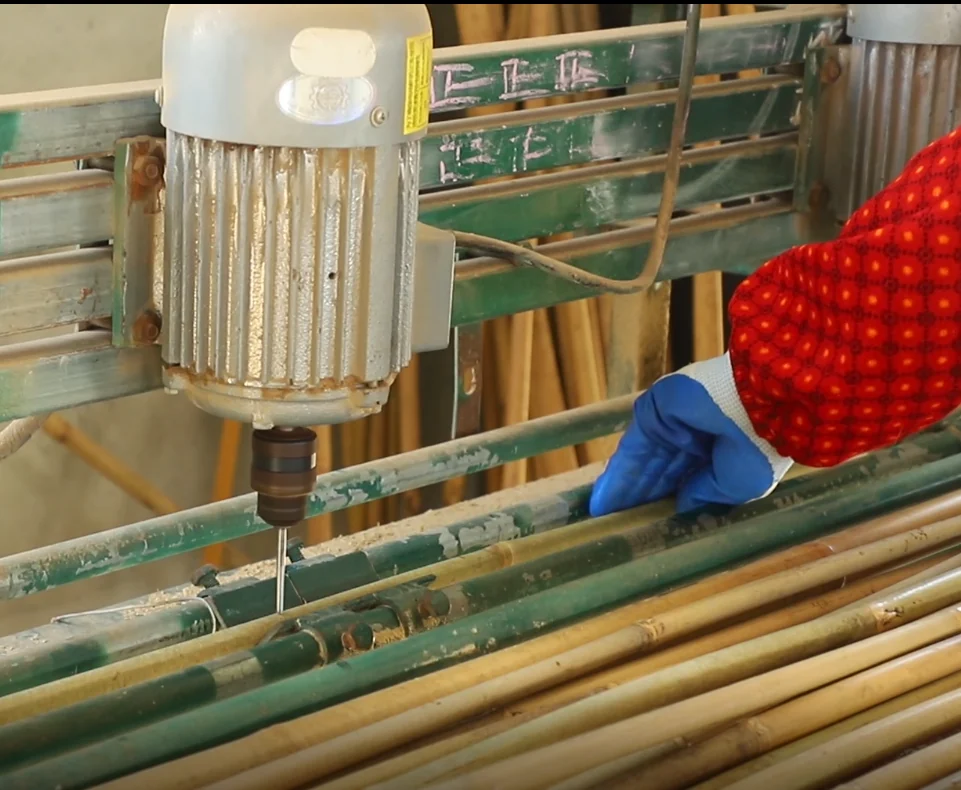
Factory photograph: bamboo fence weaving at Rongjia.
Start bamboo fence installation with a front-and-back check
Ask for photographs of the whole front, the back and an end. Identify what holds the bamboo pieces together before deciding where the installation fixings belong.
| Product format | What to identify | Installation decision |
|---|---|---|
| Wire-bound bamboo roll | Binding wires joining the canes or strips; no rigid rear frame | How the approved ties or fixings connect the assembly to the supporting fence |
| Panel with rear timber rails | Bamboo already secured to the backing rails | Whether the product instructions place installation screws through those rails |
| Lightweight bamboo screening | Thin material and its own binding arrangement | The supplier’s attachment method for that exact screen and backing |
Bamboo Fencing Australia’s guide shows a panel fixed through rear timber rails, rather than drilling through its bamboo half poles. That is a useful example of why a roll-installation tutorial cannot automatically describe a backed panel.
The roll’s binding wire and the installation tie have different jobs. One holds the product together; the other connects it to the site structure. Some products permit attachments at their binding wires, but confirm that location for the selected assembly instead of assuming every visible wire is an approved anchor point.
Use Rongjia’s fencing range to identify the material you want. Our roll buying guide covers selection and packaging; the connection details need their own drawing or supplier instruction.
Chain-link and timber supports need different connections
For an existing chain-link fence, start with its posts, mesh and connections. Adding a screen changes the fence presented to the wind. CLFMI’s technical guide addresses post selection and wind loading; an open mesh fence should not be assumed adequate for every added screen.
Then check access. Can the installer reach behind the mesh to pass and finish each tie? A fixing method that requires access from both sides is a poor choice where the other side cannot be reached.
| Site support | Connection to agree | Detail to show on the drawing |
|---|---|---|
| Existing chain-link | Product-approved ties or wire joining the bamboo assembly to suitable mesh/support points | Attachment locations, end treatment and access behind the fence |
| Existing timber fence or timber rails | Fixing into timber capable of holding the specified connection | Which member receives the fastener and the required engagement in it |
| Masonry wall | Suitable anchors and supporting battens where the selected system requires them | Wall substrate, anchor arrangement and bamboo-to-batten connection |
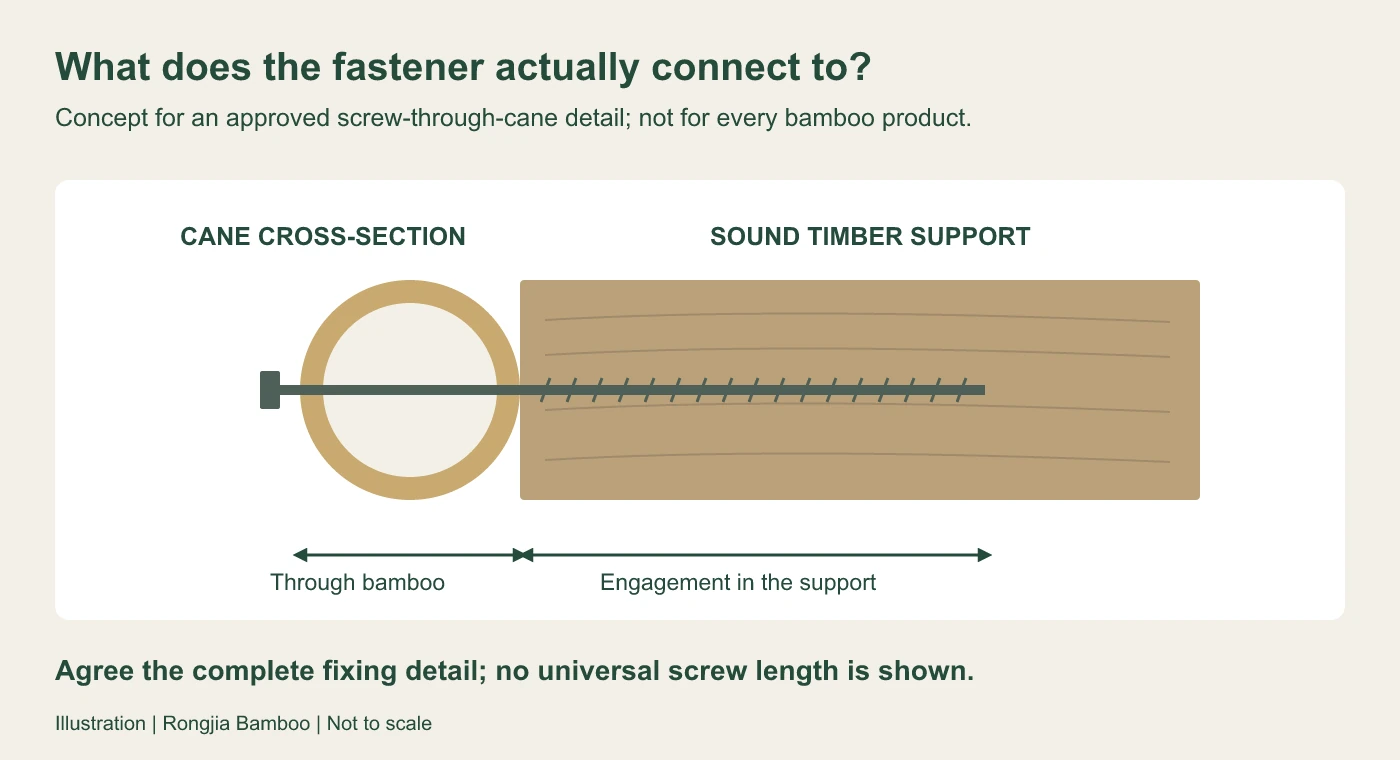
For screw fixing through an approved round-cane product, distinguish the distance through the bamboo from the length engaged in sound timber. The visible screw head does not tell you how much of the screw actually holds in the support. Have the installer select the fixing for the complete detail.
Do not copy one universal fixing interval from the internet. Product construction, support condition, height and exposure belong in the fixing proposal. Adding more ties does not repair a loose post.
Approve one trial section before repeating the fixing
Set out a representative section with the chosen product, support and fixings. Include an end or join, rather than testing only the easiest middle area.
For a wire-bound roll on chain-link: position and support the roll at the planned level, make the approved upper and lower connections, then inspect the end and intermediate attachments. Check that the bamboo is held without damaged binding wires, sharp projecting wire ends or fixings that obstruct access.
For an approved screw-through-cane detail on timber: mark the real backing positions before drilling. Pre-drilling can reduce splitting risk; test the proposed hole and fastener on the actual material. Tighten without crushing the cane. If the detail produces cracks or loose attachments, revise it before continuing.
For a panel with rear timber rails: locate those rails from the back and follow that panel’s connection instructions. Do not substitute a screw through the visible bamboo simply because the rear fixing is less convenient.
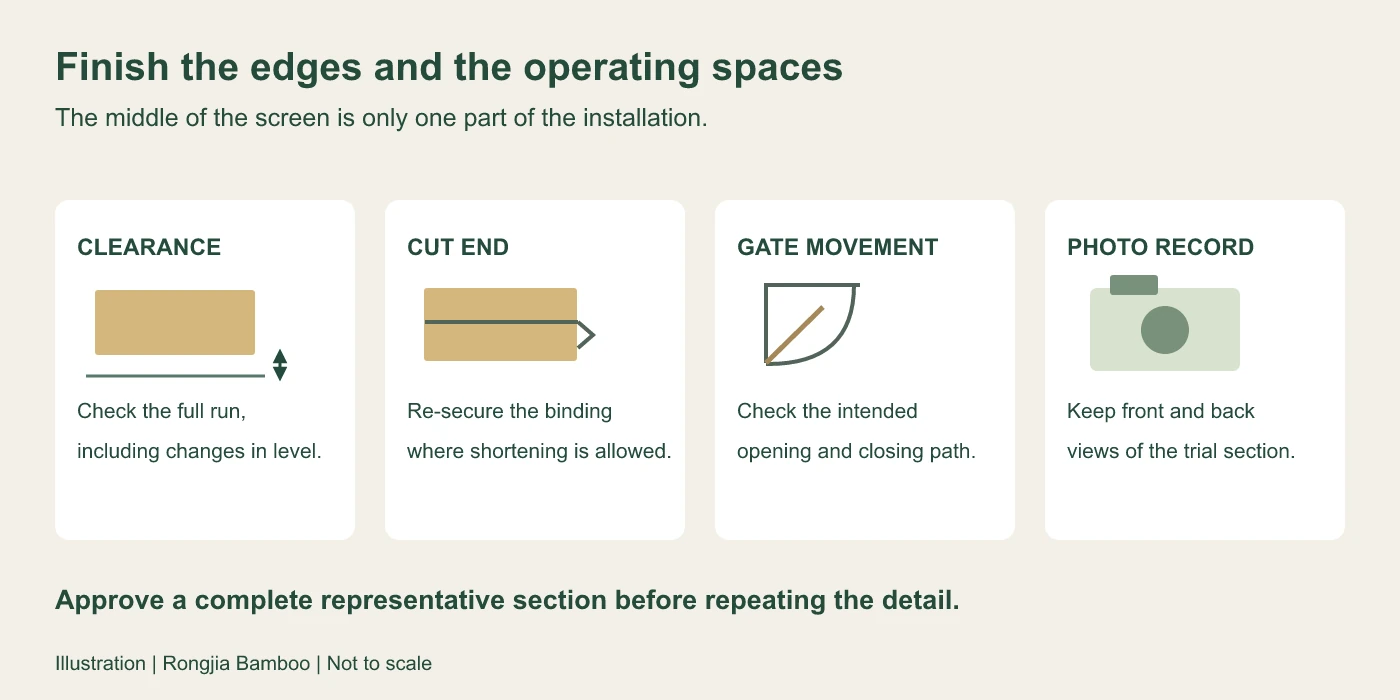
Photograph the accepted section from both sides. Record the product reference, support, fastener and agreed fixing layout. This is a workmanship and fit check; structural adequacy still comes from the support and connection design.
Resolve cut ends and ground clearance before handover
Keep the bamboo clear of soil and standing water, and allow water to drain at the base. Set the actual clearance for the product and site, including changes in ground level. A level top does not guarantee the bottom remains clear along a sloping boundary.
If the supplier allows a wire-bound roll to be shortened, secure the remaining binding at its new end. Sunset Bamboo’s instructions describe removing canes and tying the wires again. Cutting every binding wire and leaving the new edge unsecured can release the assembly. Confirm how the selected product should be finished before cutting it.
Check doors and gates through their intended movement after fixing the screen. Finish wire ends so they do not project into a walkway or operating space, and keep the approved end detail with the installation photographs.
For an installation-related inquiry to Rongjia, send the product reference, front-and-back photographs of the existing support, proposed screen height, site exposure, access restrictions and any cutting required. Ask the supplier and installer to confirm the connection drawing and a trial section before repeating it along the whole run.